Effortless Garage Door Opener Installation
- COMMERCIAL GARAGE DOOR REPAIR
- GARAGE DOOR OPENER INSTALLATION
- GARAGE DOOR SPRING REPAIR
- SAME-DAY GARAGE DOOR REPAIR
- CUSTOM GARAGE DOOR
- GARAGE DOOR OPENER REPAIR
- GARAGE DOOR TRACK REPAIR
- GARAGE DOOR CABLE REPAIR
- GARAGE DOOR PANEL REPAIR
- LOCAL GARAGE DOOR REPAIR
- GARAGE DOOR REPLACEMENT
- NOISY GARAGE DOOR FIX
- GATE REPAIR
- GARAGE DOOR INSTALLATION
- GARAGE DOOR SECTION REPLACEMENT
- OVERHEAD GARAGE DOOR REPAIR

Effortless Garage Door Opener Installation: A Step-by-Step Guide
Looking to make life a little easier every time you pull into your driveway? Modern garage door openers deliver convenience, safety, and even a touch of luxury to your home. With more homeowners (especially those who love a smart gadget) upgrading to automatic openers, knowing how to handle a garage door opener installation can save you time and money.
Below, you’ll find a friendly, straightforward guide to installing your own system, including how to select the right opener, the tools you’ll need, and the steps to get it running smoothly.
Preparing for Your Garage Door Opener Installation
Before getting started, a bit of prep work will make the process go much smoother.
Tools and Materials Checklist
- Power drill
- Wrench set
- Screwdriver (flathead and Phillips)
- Level
- Tape measure
- Step ladder
- Safety gear (work gloves, safety glasses)
Choosing the Right Opener
Smart buyers know to look for features that fit their lifestyle. The three major types are:
- Chain drive (most affordable but louder)
- Belt drive (quieter, ideal for attached garages)
- Screw drive (low maintenance, best for wider doors)
Consider your garage’s location, how sensitive you are to noise, and the horsepower needed for your specific door. For most double doors, a ½ to ¾ HP motor does the job.
Step-by-Step Garage Door Opener Installation Guide
Step 1: Disconnecting the Old Opener
Safety first! Unplug the old opener and disconnect the garage door from the opener arm. Carefully remove all mounting hardware. If this is your very first opener, skip to the next step.
Step 2: Assembling the New Opener
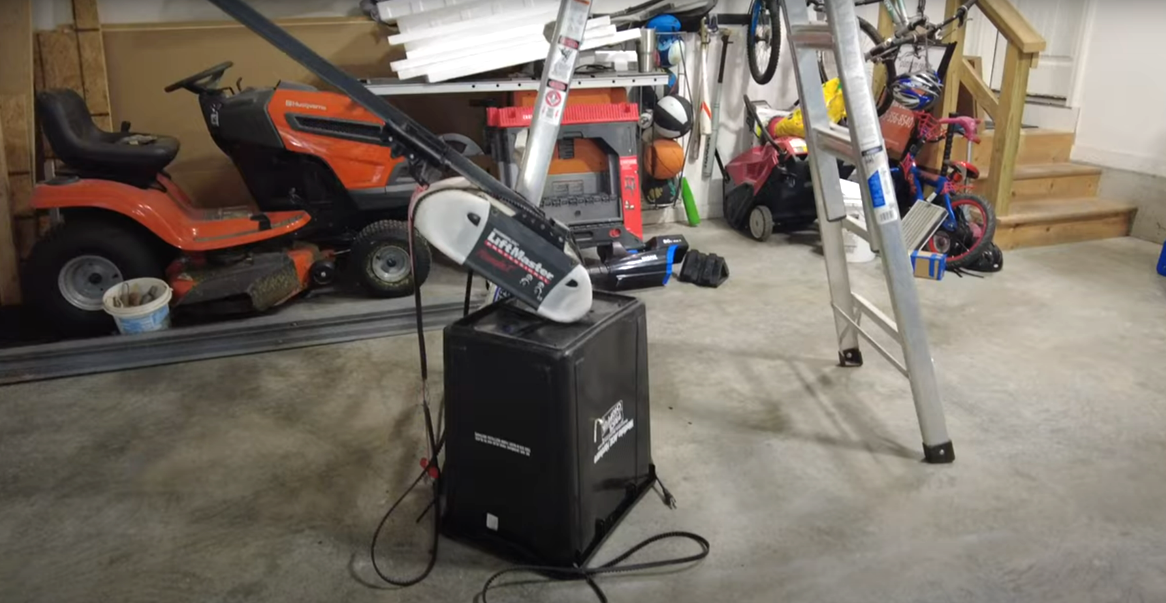
Open your new garage door opener box and attach the rail to the motor unit, following the included instructions. Make sure everything lines up straight; this affects the long-term health of your opener.
Step 3: Installing the Mounting Brackets
Find the ceiling joists and attach the new mounting brackets securely. The rail and brackets need to be level and stable to avoid vibration and noise over time.
Troubleshooting Common Issues
- Opener not responding? Double-check the power source and ensure all wiring connections are secure.
- Door reverses unexpectedly? Recalibrate the safety sensor alignment and check for obstructions.
- Remote not working? Replace the batteries and reprogram if needed.
Upgrade Your Garage with a Professional Touch
A well-executed garage door opener installation gives your home a simple upgrade for daily comfort and security. If you want peace of mind, or just can’t get the opener working just right, the team at Garage Door Repair Gahanna Ohio is always ready to help. You get expert service and reliable support from local professionals.
